Tag Archives: DIY

10 DIY Project Ideas for Christmas Break: Crafting Your Home Wonderland

IMG_0843

The winter holidays are upon us, and what better way to make the most of this joyful season than by sprucing up your home with some fun and creative DIY projects? Embrace the festive spirit and transform your happy home into a cozy, personalized haven. Whether you’re looking for small enhancements or considering ambitious endeavors, here are some fun ideas to get your creative juices flowing and keep the kiddos busy this Christmas break.
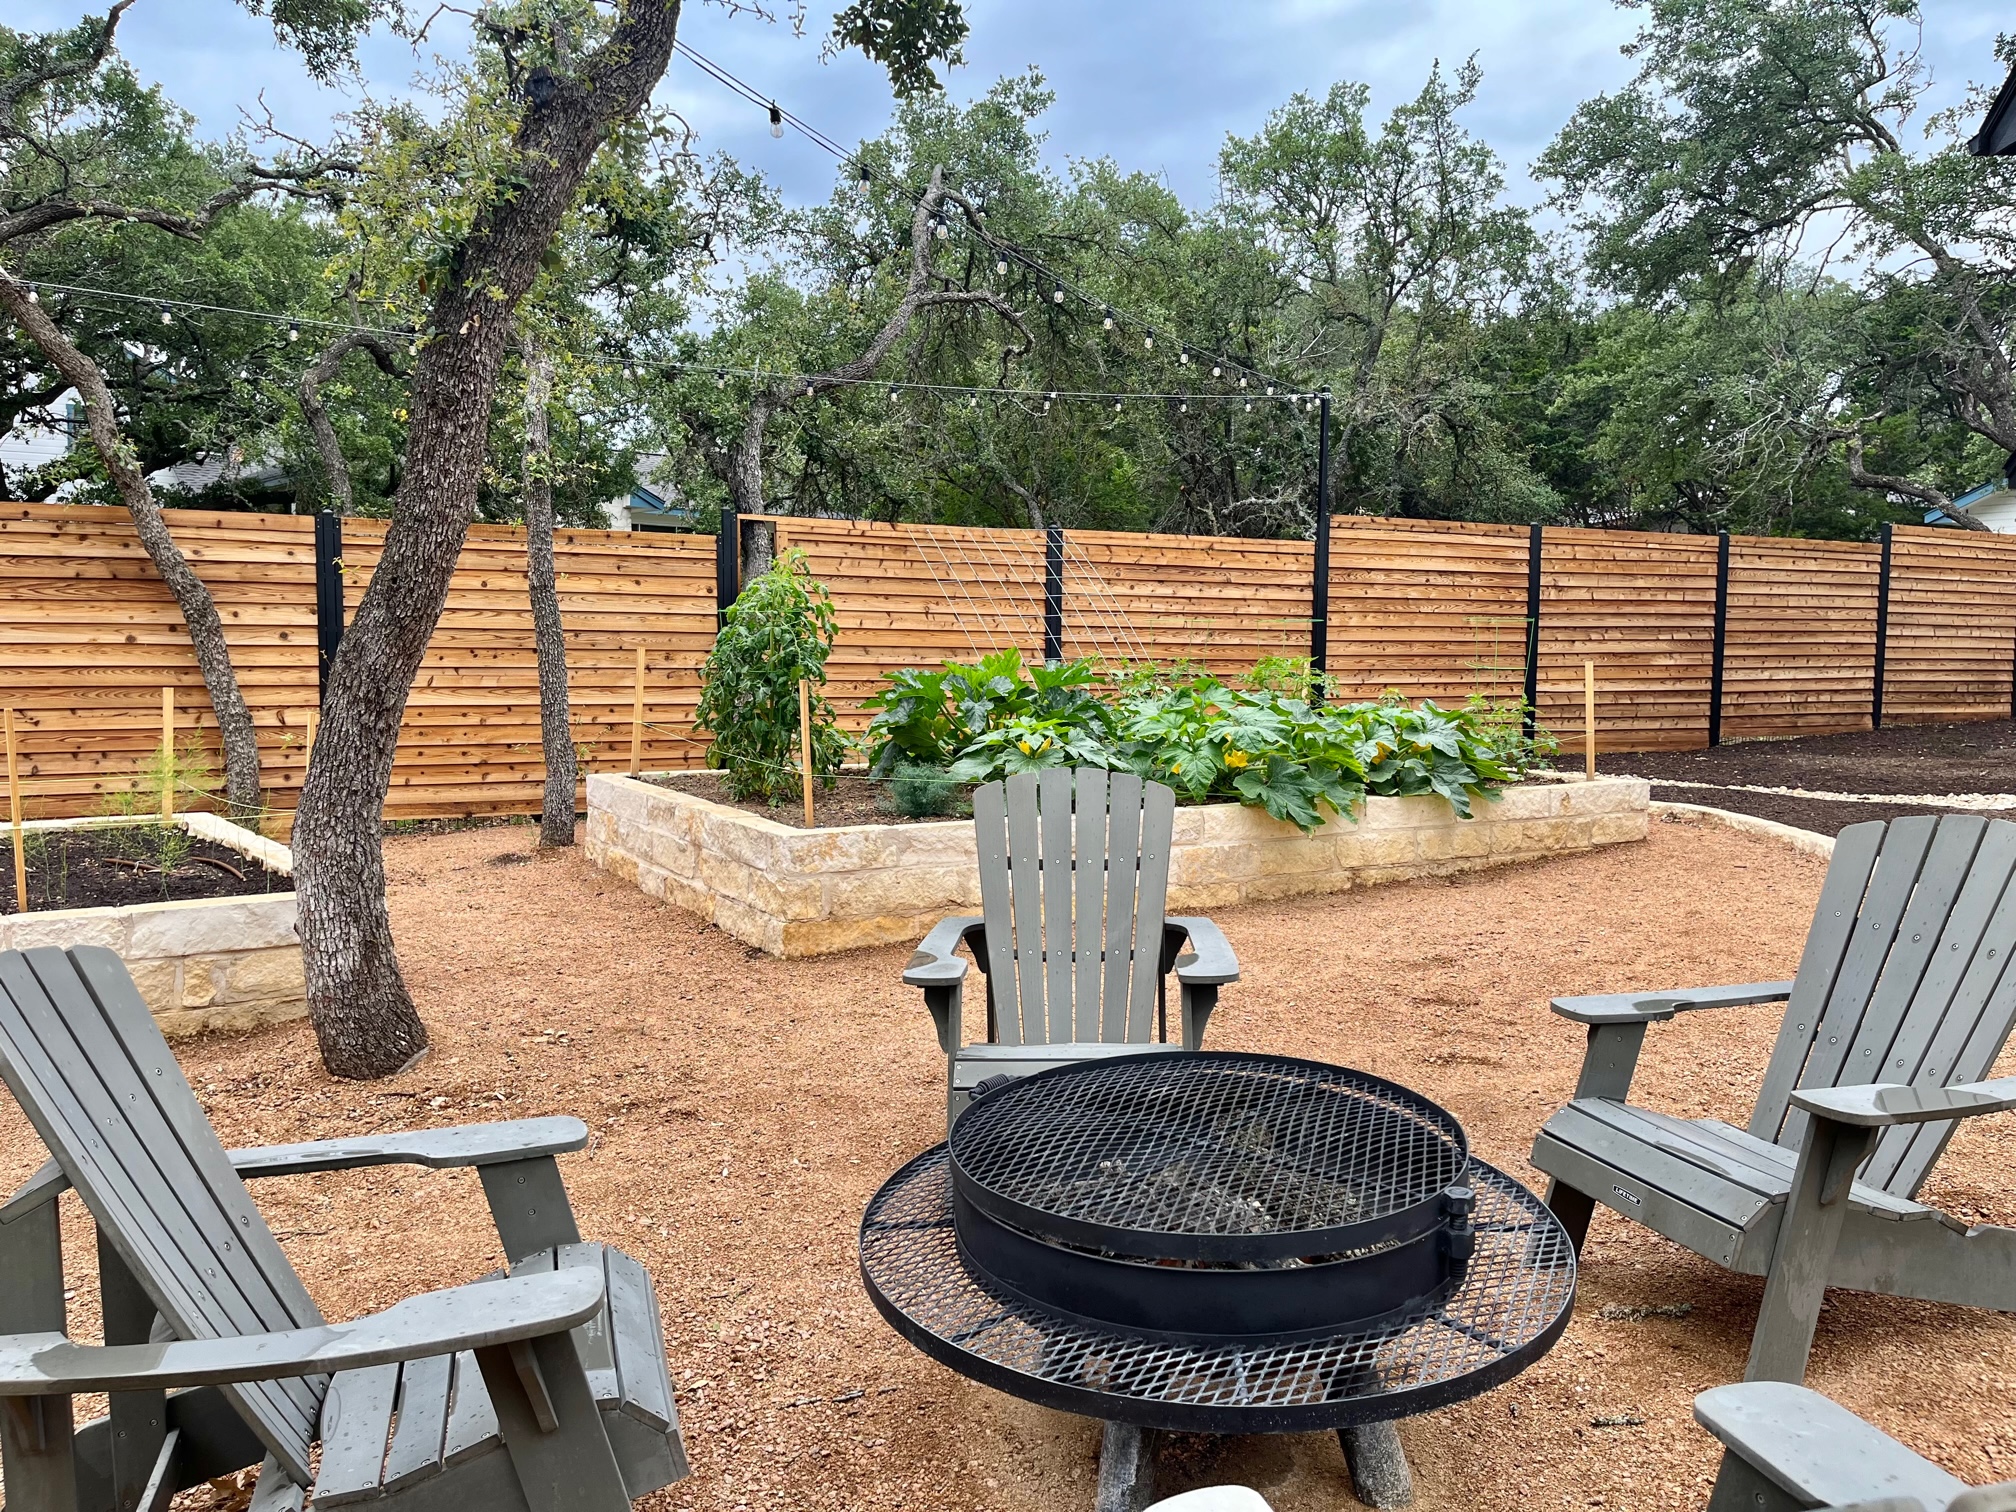
1. Outdoor Fire Pit

Take advantage of the cooler weather and build an outdoor fire pit to gather around with friends and family. Not only does it add warmth to chilly evenings, but it also creates a charming focal point for your outdoor space. Consider using local Texas stones for a rustic and authentic touch.

2. Customized Wreaths

Put your creative talents to the test by crafting personalized wreaths for your front door or interior spaces. Incorporate native Texan flora like pinecones, magnolia leaves, or even cotton stems for a unique and regional flair.

3. Festive Light Displays

Illuminate your home with a stunning display of lights. Create a breathtaking arrangement along your roofline or landscape with dazzling LED lights. Add a Texan twist by using cowboy boot or star-shaped lights for an extra touch of charm. If you use neutral colors, you can keep them up all year!

4. Handcrafted Furniture

Channel your inner craftsman and build bespoke furniture pieces. Whether it’s a reclaimed wood coffee table or a set of wooden shelves, personalized furniture adds character and elegance to your home. Texas has a wealth of reclaimed materials to explore, giving your creations a distinctive local flair.

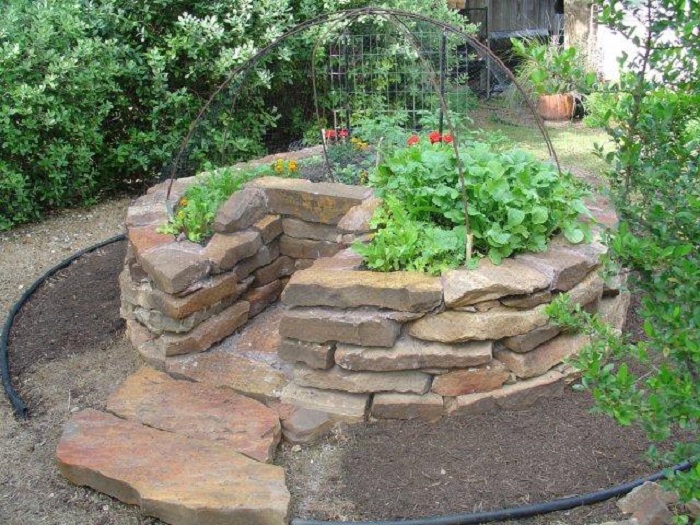
5. Herb Garden Indoors

Bring a bit of greenery indoors by setting up a DIY herb garden. Use decorative pots or mason jars to plant herbs like rosemary, cilantro or basil. Not only do they provide fresh ingredients for your culinary endeavors, but they also infuse your home with natural scents and colors. Take it one step further and plan a crafts day with the kids and paint the pots together with flowers, lady bugs, turtles – whatever they like.

6. Accent Wall Revamp

Transform a plain wall into a captivating accent with a fresh coat of paint or unique wallpaper. Experiment with vibrant Texan-inspired colors or patterns to enliven your living space. Consider incorporating motifs like Lone Star patterns or desert landscapes if you want to keep it puro San Anto, as we say.

7. Customized Corkboard or Pinboard

Create a functional yet stylish corkboard or pinboard to organize your space. Use a rustic wooden frame or repurpose old picture frames for a vintage feel. Personalize it further by adding Texan-themed fabric or pins shaped like iconic state symbols.

8. Home Theater Installation

Turn a spare room or basement into an entertainment hub by setting up a home theater system the whole family can enjoy. Install a projector, comfortable seating, and ambient lighting for a cinematic experience right at home. Just don’t forget the vintage popcorn maker!

9. Upcycled Décor

Give new life to old items by upcycling them into decorative pieces. From mason jar lanterns to repurposed wine barrel furniture, the possibilities are endless. Unleash your inner artist and let your Texas roots inspire your designs.

10. Cozy Reading Nook

Create a serene reading corner by incorporating comfortable seating, warm blankets and shelves filled with your favorite books. Add Texan charm with cozy throw pillows featuring local landmarks or landscapes.

With these DIY projects, you can infuse your home with personalized touches that reflect you and your family’s style and celebrate the holiday season. Embrace the spirit of creativity and craftsmanship and make this winter break a time to cherish by creating lasting memories within the comfort of your own home. Happy holidays and happy crafting!

Treehouses Aren’t Just for Kids

img_6830

You don’t have to be a kid to want your own treehouse, and actually living in a treehouse is more viable than you think! We were inspired by Cypress Valley Canopy Tours’ luxury treehouses, located outside of Austin. Practically floating among the trees is a multi-teared treehouse system complete with a kitchen unit, a bedroom/living room unit and a crow’s nest for ultimate sightseeing. All of this is surrounded by gorgeous decking where you can just relax and take in nature and all its beauty. Oh, and did we mention it even comes with air conditioning?

The owners actually built all of the treehouses on their property with their own hands. You can see the labor of love in every detail, from the wood they chose to the thoughtful design. Just because we adore this place so much, we’ll also mention that they offer zipline tours along the tree-lined creek, including nighttime adventures lit up by fireflies and paper lanterns. It’s a magical way to experience the Texas landscape.

So maybe you don’t have the time or interest in building something so elaborate, but having your own treehouse can be pretty easy. Still, you should give yourself a moment to dream. You could have a gingerbread Victorian, a rustic cabin, an open-sided yoga studio or something even more unique. Here are some tips to get you started.

  1. First things first – you can’t have a treehouse without a tree, so make sure to choose a sturdy one in a good location, because once this thing is built you won’t want to take it down.
  2. One of the first rules of treehouse building is make it light-weight. You should keep weight and stability in mind the entire time. Instead of having a foundation like a house, your treehouse will have a platform.
  3. Pick a wood that is strong yet rot-resistant.
  4. Ask yourself some questions to help you make better design decisions. Are you building a treehouse for the kids or is this an adult hideaway? What kinds of things would you like to have in your new treehouse? A little kitchenette perhaps? Or just a lot of pillows you can lay back and take a nap on?
  5. It’s very important that you properly level the floor to achieve stability. The load should be centered over the trunk and the weight spread out among several branches.
  6. Build in gaps around branches and trunks so as to not restrict the growth of the tree.
  7. Make your life easier by building sections of the house on the ground and then lifting them up into place.
  8. However, before doing anything, you might want to check your neighborhood HOA and municipality regulations to ensure you won’t be breaking any rules.

Did we say this would be easy? Well, maybe not easy, but pretty amazing once it’s done. Of course, you can always call us if you need some help! For a consultation on a more traditional-sized home, please call us at 210-494-5400. If you wish to be added to our private email list for our newsletter, please sign up here.

How to Make a Sustainable Keyhole Garden

keyhole

If you’ve never heard of a keyhole garden, the concept was first started in Africa as a way to maximize water and other resources. In Texas, the keyhole garden is growing in popularity for the same reason. It uses minimal water (up to 70% less) and is a great way to re-purpose waste, like banana peels and potato skins, that you would normally just throw away. If you’d rather not spend an hour a day watering your garden, check out this nifty little idea and grow some extraordinary vegetables.

In essence, a keyhole garden is a raised-bed planter that reaches waist-high and is built in the shape of a circle measuring approximately 5 feet in diameter. A hole in the middle holds a composting basket that keeps the soil moist and fed. If you look at it from above, it looks like a keyhole or a piece of pie with a missing slice.

People that we’ve known who have built their own are amazed at how little water is needed and yet how lush and prosperous the plants are in this mini ecosystem. It’s pretty easy to build your own – just follow these instructions:

  1. First you’ll need some bricks or rocks, a compost bin or some wire mesh to make your own cylindrical composter. Of course, you can save yourself some time and effort by shopping for an  attractive, pre-built keyhole planter online.
  2. Next, make a circle with the bricks by stacking them 3 or 4 high, depending upon how you stack the bricks. The circle should be large enough to accommodate the composter in the middle of the circle. Make sure that your arm can reach the composter in the center – this will ensure you’ll be able to harvest all of your crops.
  3. Make sure the wedged section, or keyhole, is large enough so that you can walk up to the composter for refilling.
  4. Fill the planting space with biodegradable materials such as newspaper and cardboard, then top with nutrient-rich soil in such a way that it slopes away from the compost basket. This is to encourage proper drainage.
  5. Plant your veggies in sections – tomatoes go in one pie slice for example, spinach another, and so on.
  6. Fill with compost daily, or as you have it, then water (approximately a gallon a week) over the compost. It should disseminate the nutrients and water nicely throughout the garden, leaving your plants happy and healthy!

For a luxury custom home to go with your awesomely sustainable garden, call us at 210-494-5400 for a consultation. If you wish to be added to our private email list for our newsletter, please sign up here.


Shed No More Tears for Your Abandoned Toolshed

Do you have an eyesore, otherwise known as an abandoned shed,  sitting in the back of your yard, full of old tools, a lifeless lawnmower from the 80’s, and an assorted collection of items you discarded years ago – all collecting dust? You probably hate opening it for fear of what creatures might be nesting there. If this sounds familiar, we’ve got good news for you! With a little TLC, you can turn that ugly shed into a haven of relaxation and enjoyment, what they’re now calling He-Sheds and She-Sheds.

She-Sheds

She-sheds having been growing in popularity in Europe, and are just starting to catch on in the U.S. Women who do everything for their families and their jobs, who can never seem to find a moment’s peace, will vastly appreciate this creative little retreat. There’s actually many different ways you can transform your shed into the ultimate she-shed. Here are a few ideas to get you started.

Basic Retreat:  With a few coats of paint, a couple of windows, reclaimed furniture, rug, potted flowers, cozy throw and an electric teapot (just like the Brits), you can create a beautiful little space that’s ideal for unwinding with a good book or taking an afternoon nap.

Yoga Studio: Sure, it’s not a lot of space, but just for you or you and your BFF, it’s all you need. Consider removing the front door(s) and creating a trellis you can cover with ivy. Cover the inside with long flowing wall hangings in colorful prints, then put down laminate wood flooring, and roll out your yoga mat. Don’t forget to hang some sweet sounding wind chimes to help complete your OM space.

The Greenhouse:  If you’re feeling extremely motivated, you can turn an old wood shed into an exceptional spot to grow ornamental or edible plants. This is no easy feat and so we encourage you do your research before launching into this home project. Still with the right plan that includes details like temperature controls and a transparent roof, you will be the envy of your neighborhood.

He-Sheds

He-Sheds are more traditional then their female counterpart. The toolshed’s always been a place where the man of the house can escape for a few beers and to catch the game, but the question is, is your shed living up to its fullest potential?

Ultimate Man Cave: Instead of watching the game on the old throwaway TV, invest in a nice flat-screen that you can mount on the wall. With a few comfy lounge chairs, framed retro posters and a chic fridge stocked with your favorite refreshment, you can relax in style.

Pub-Sheds:  Like the She-Sheds, Pub-Sheds are becoming all the rage overseas. Your shed will be the hot new hang-out spot for all of your friends once they realize they can chill at the bar without paying the exorbitant prices. For the interior, build shelves to store liquor bottles and necessary accouterments and decorate to your liking – English pub-style, speakeasy-esque, whatever you like. You can even up your game by putting in a few taps. Next, build double-doors and a small counter into the front-facing wall that can easily open up to reveal your “pub.” Pull up a few stools outside and, voila, drinks are served!